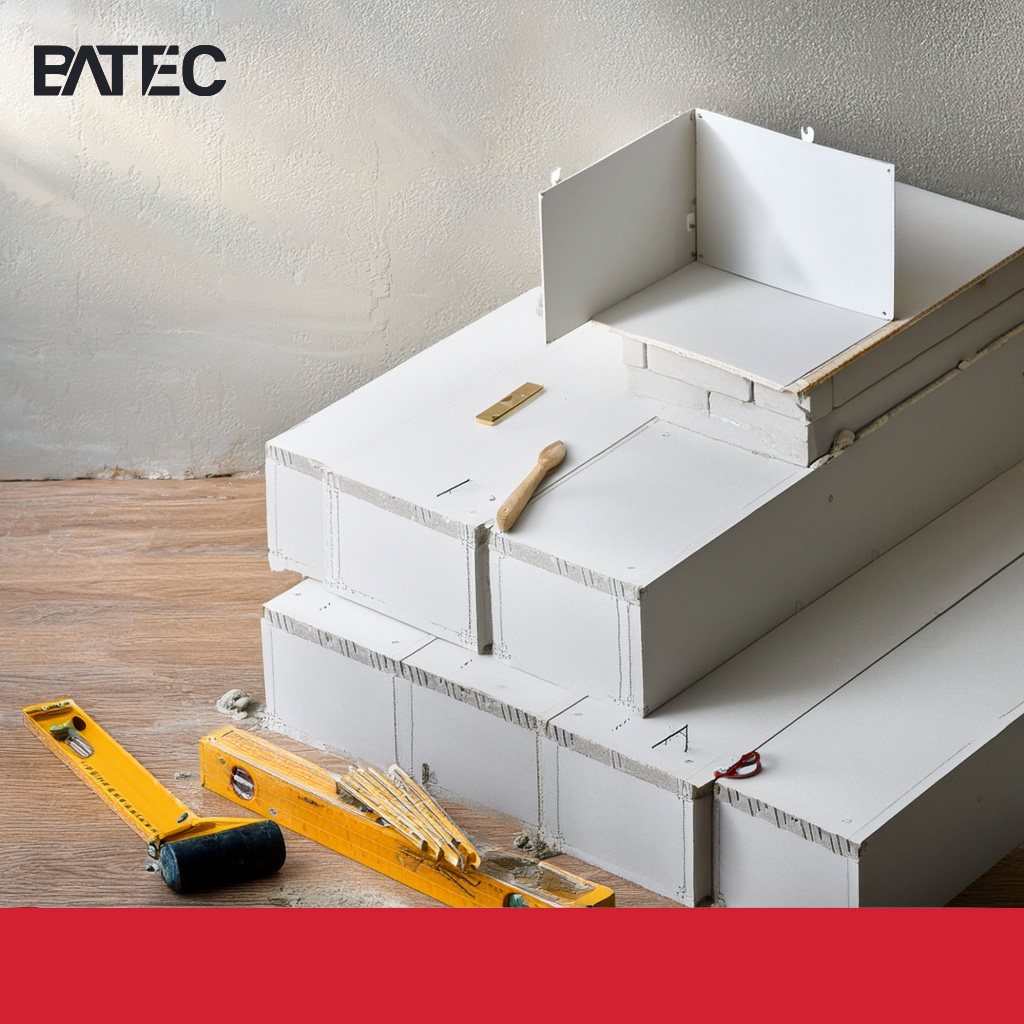
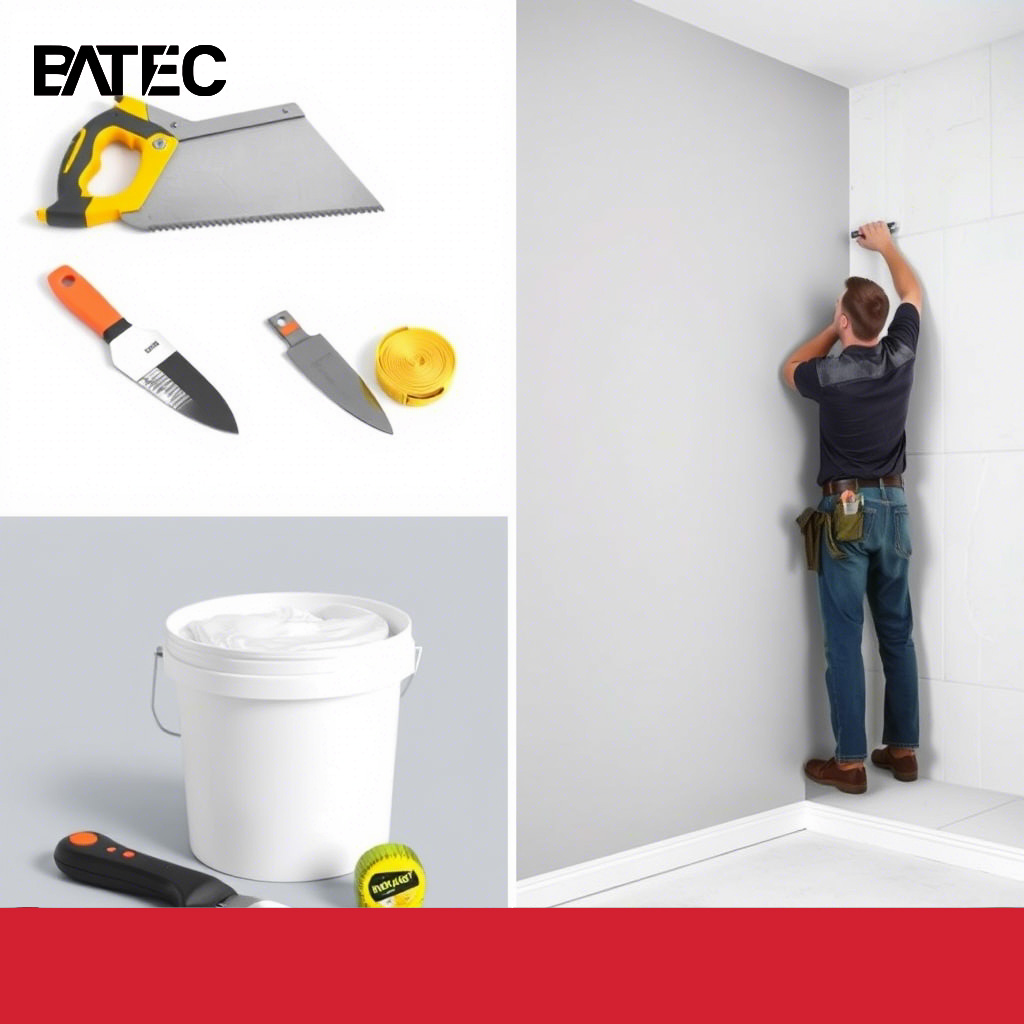
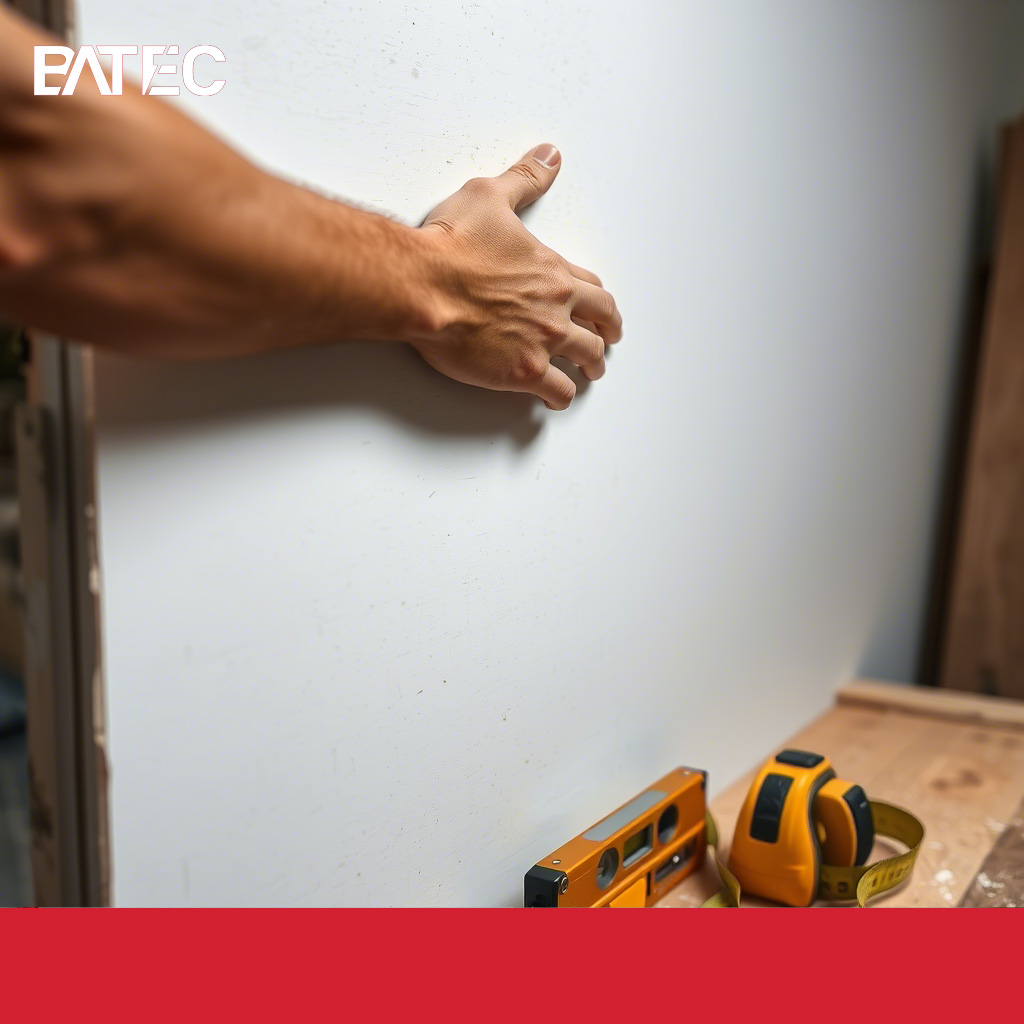
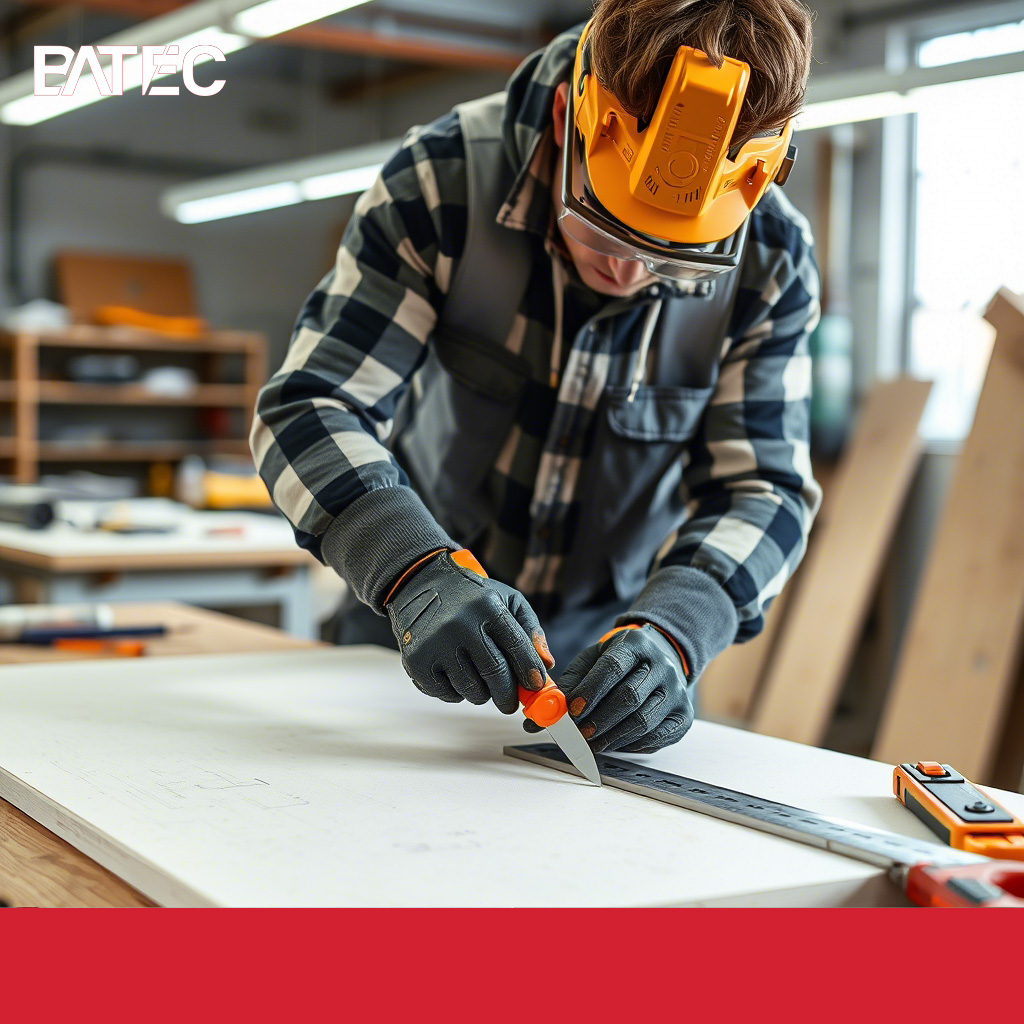
Cutting gypsum boards accurately is one of the most important steps in ensuring a neat finish and minimizing waste. Begin by measuring the area where the board will be installed and marking the cut line clearly using a pencil and straightedge. For best results, use a utility knife to score the surface along the line, then snap the board back gently to break it cleanly.
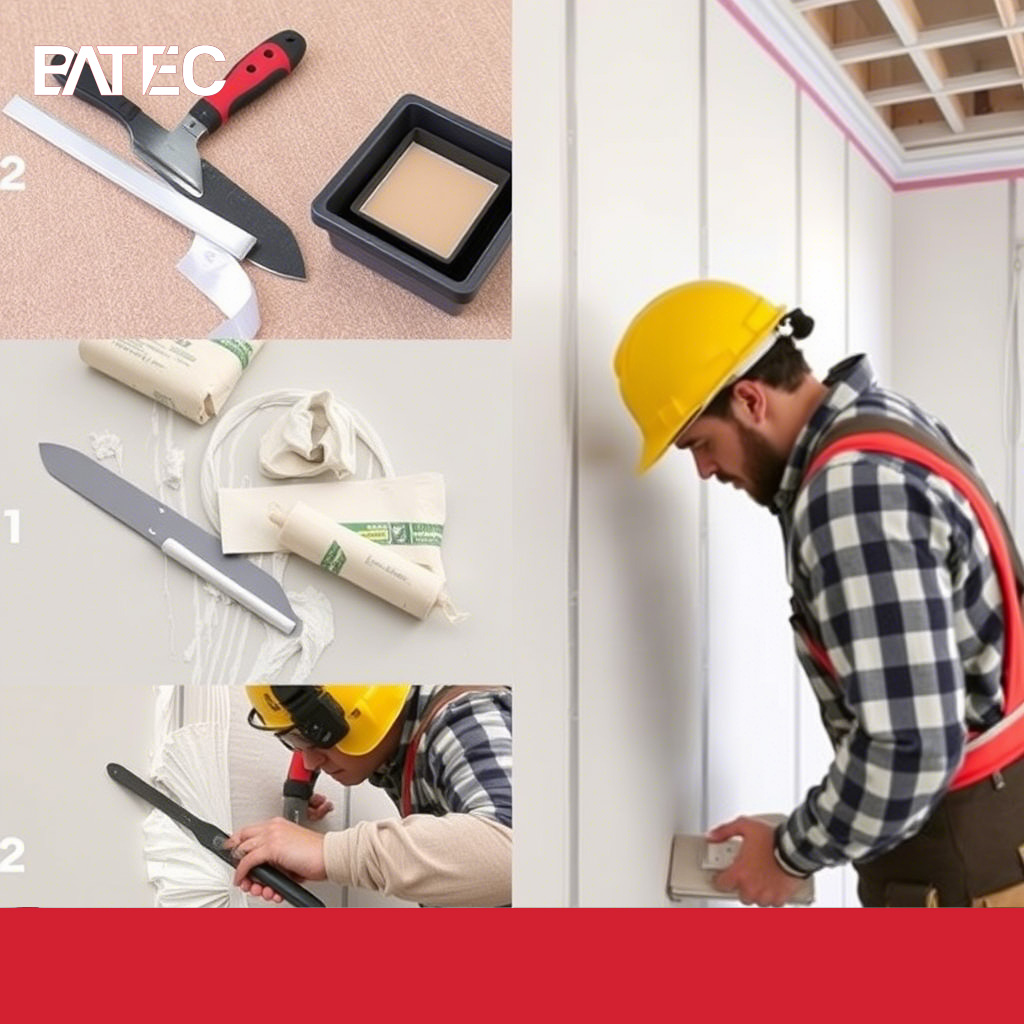
After breaking the board, cut through the paper backing on the reverse side to complete the cut. For curved cuts or notches around electrical boxes, use a drywall saw or a keyhole saw. When working with Batec gypsum boards, always wear appropriate protective gear such as gloves and goggles to avoid inhaling dust or sustaining cuts from sharp edges.
To reduce mess and improve efficiency, consider using a dustless drywall sander and cutting outdoors or in a well-ventilated space. Precision in cutting not only enhances the aesthetics of the final finish but also reduces the amount of joint compound needed to fill gaps—saving time and material costs.
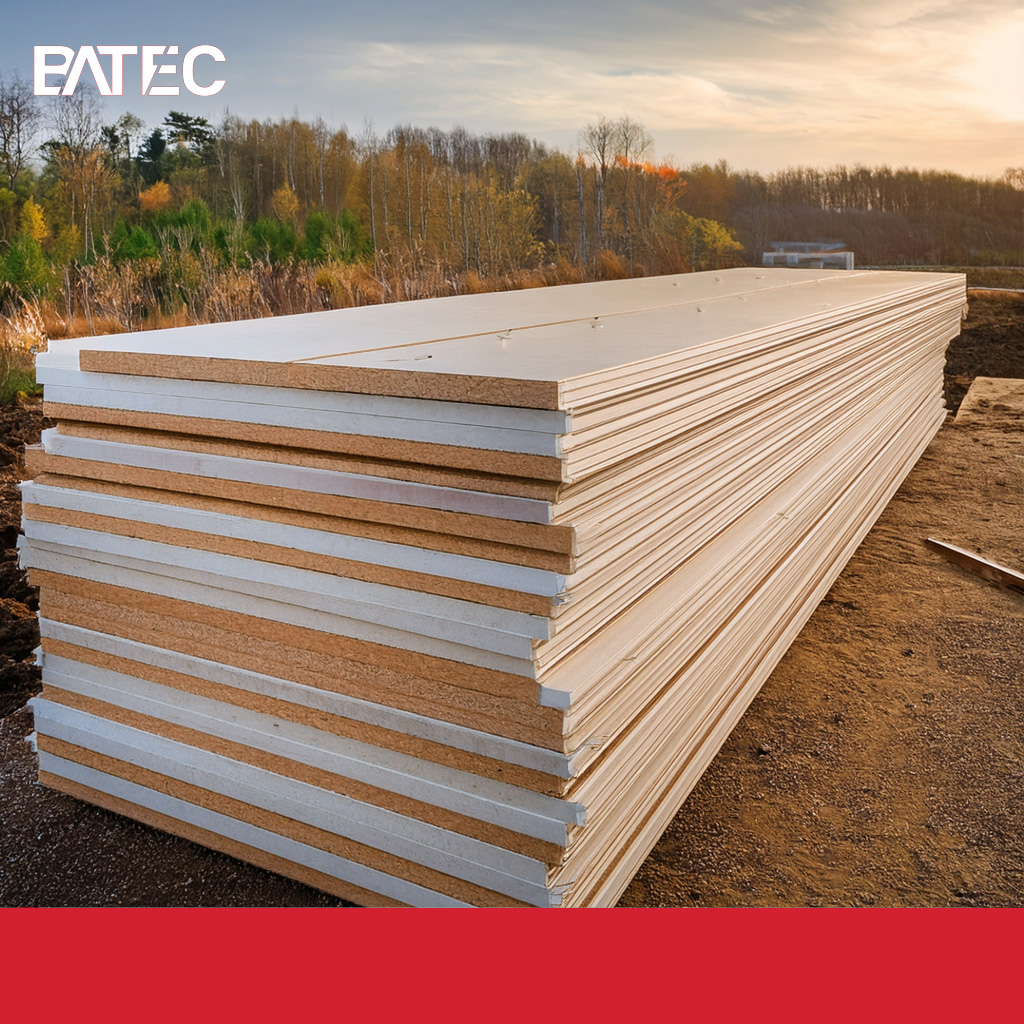
By mastering proper cutting techniques, both DIYers and professionals can streamline the installation process and achieve clean, professional-looking results—especially when using high-performance gypsum boards like those from Batec Group.


