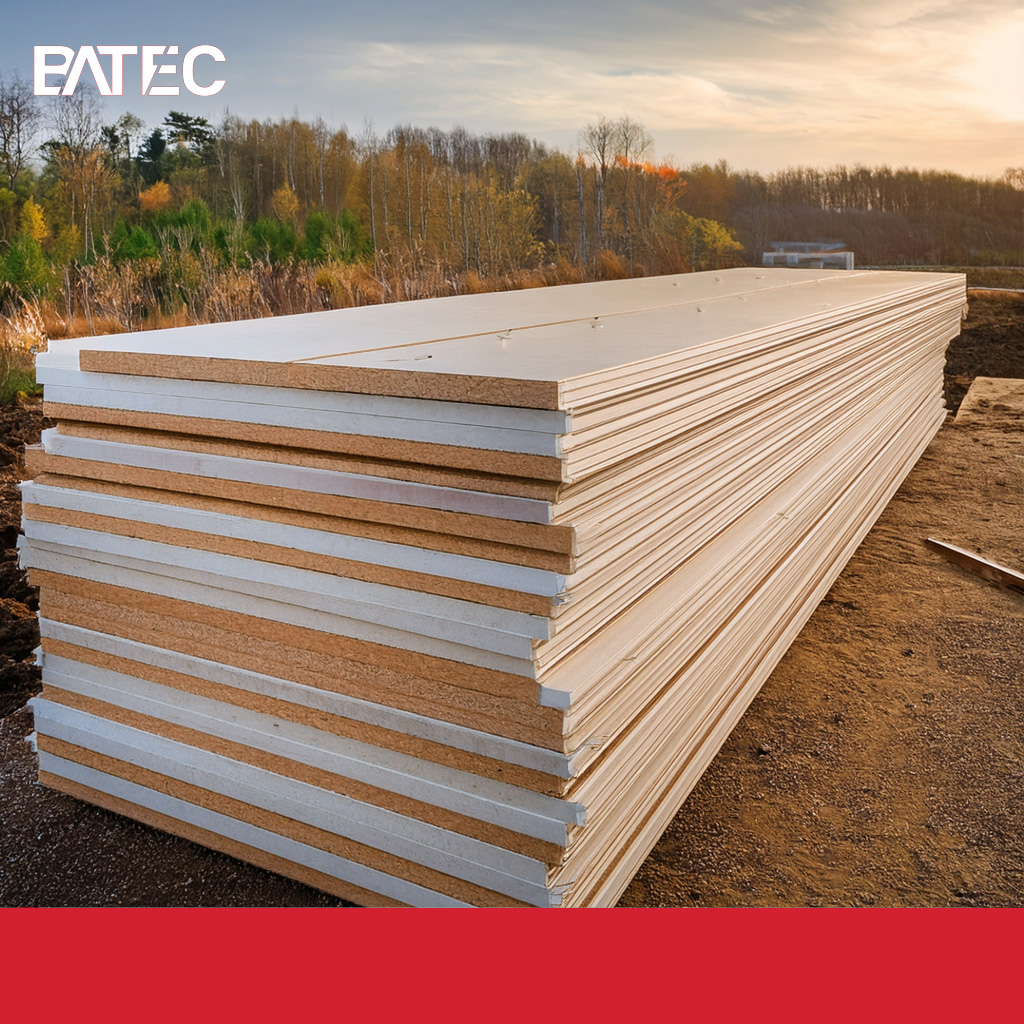
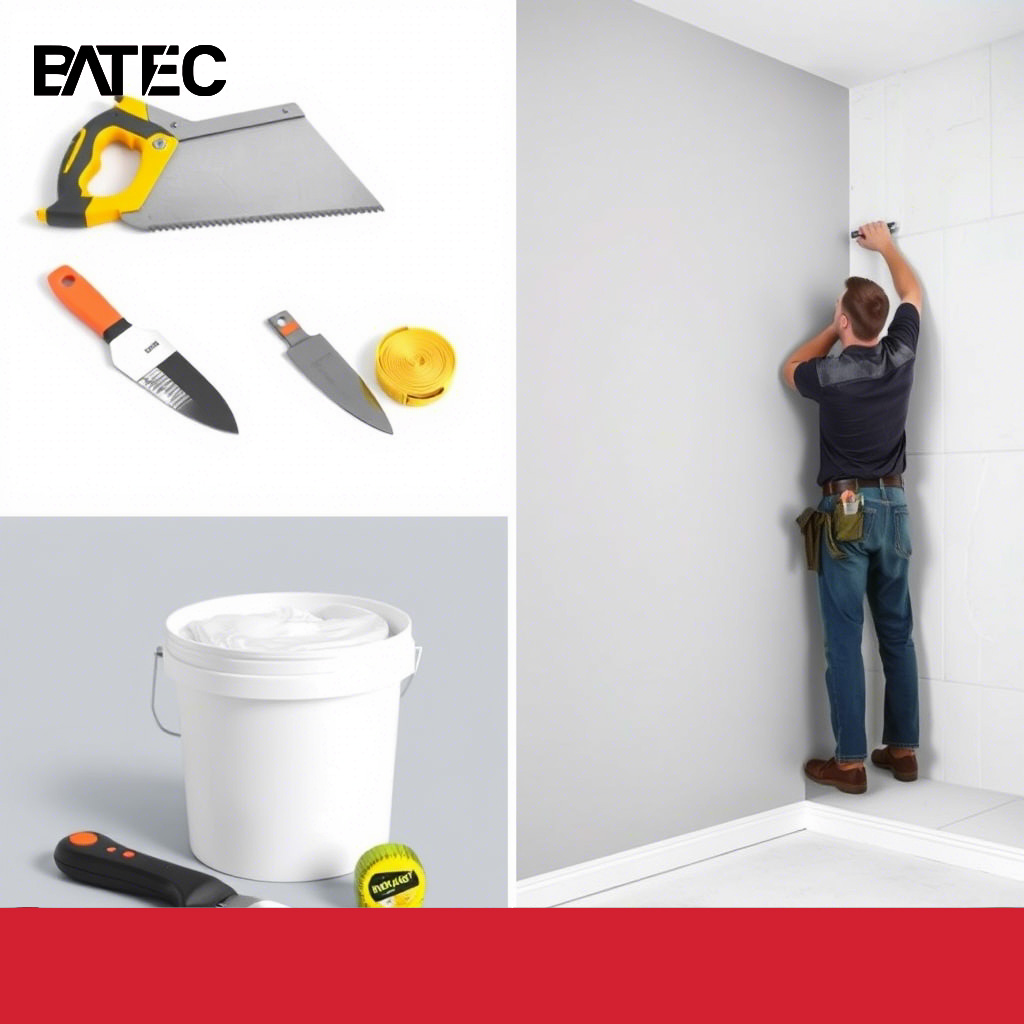
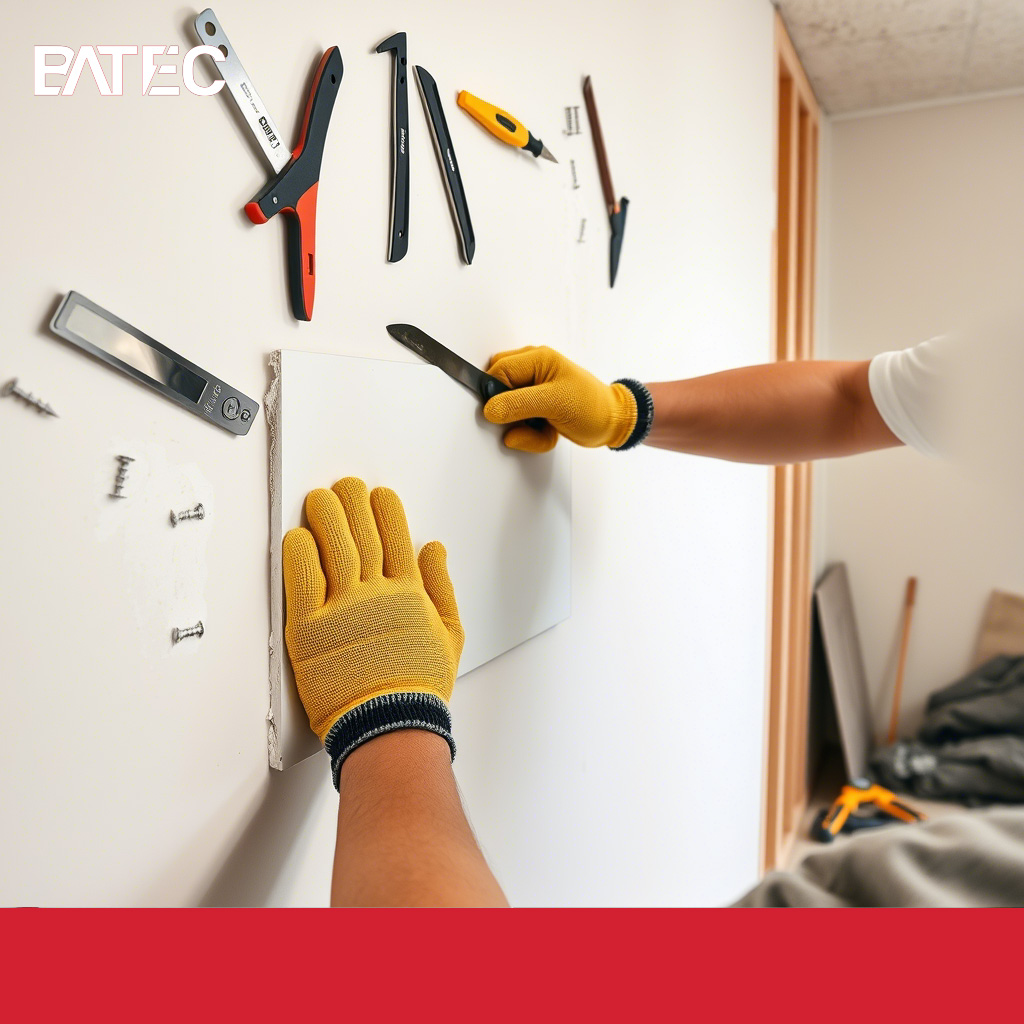
Installing gypsum boards correctly begins with a solid understanding of the materials and tools involved. Batec Group offers high-quality gypsum boards that are ideal for both residential and commercial applications, renowned for their fire resistance, ease of installation, and acoustic properties. For beginners, it’s essential to gather the right tools—such as a screw gun, utility knife, taping knife, and drywall lift—and ensure accurate measurements before cutting and fixing.
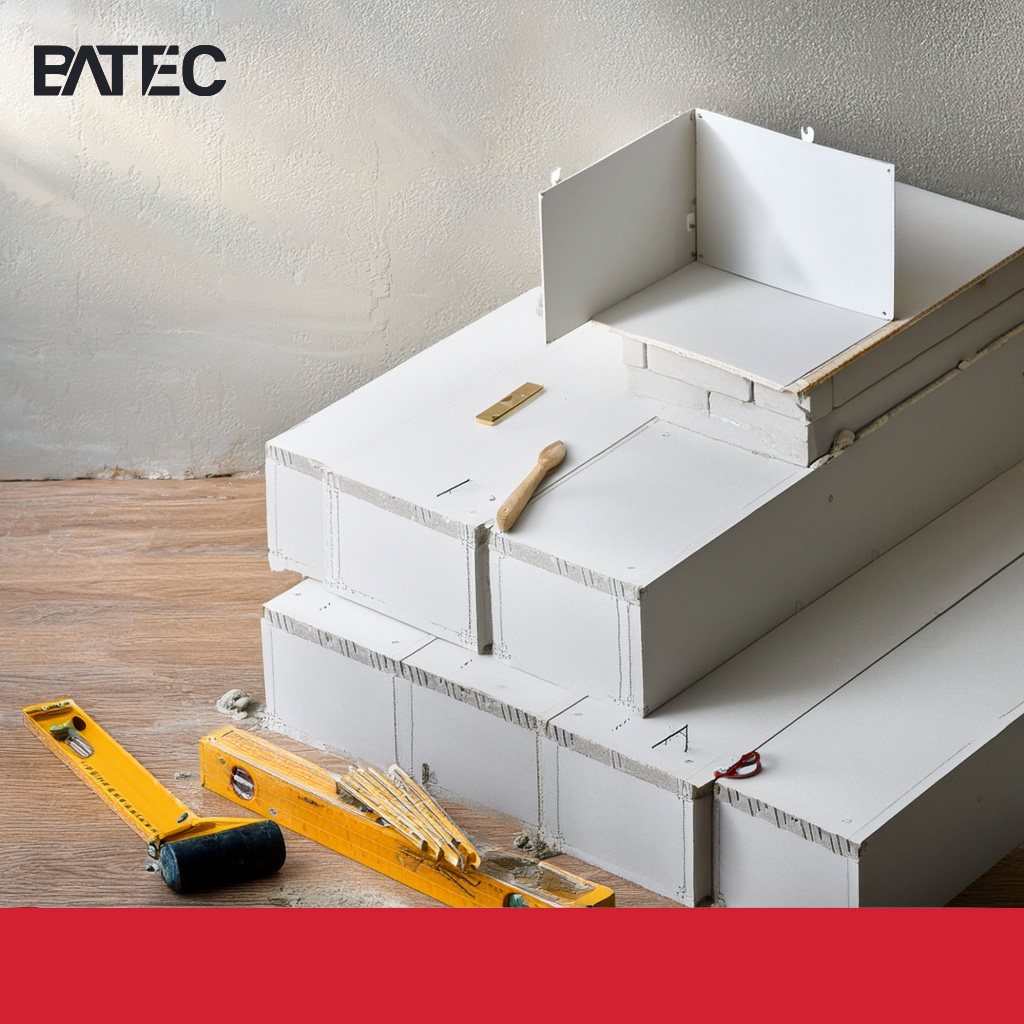
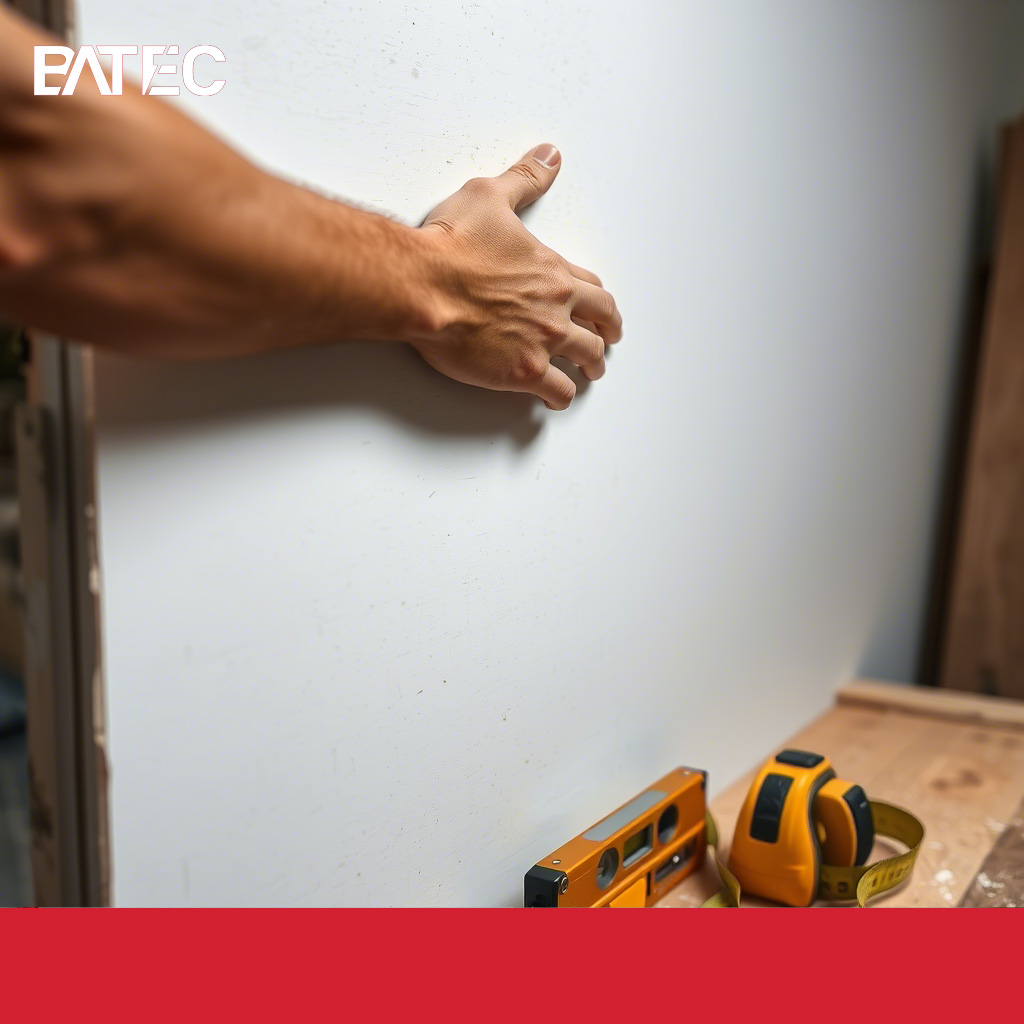
Start by framing your wall or ceiling using metal or wooden studs spaced at standard intervals (typically 40–60 cm apart). Then, lift the board into place and secure it with drywall screws. When installing Batec gypsum boards, make sure they are tightly butted together without forcing them, which can cause cracks later on. Always leave a slight gap between the floor and the bottom edge to allow for expansion.
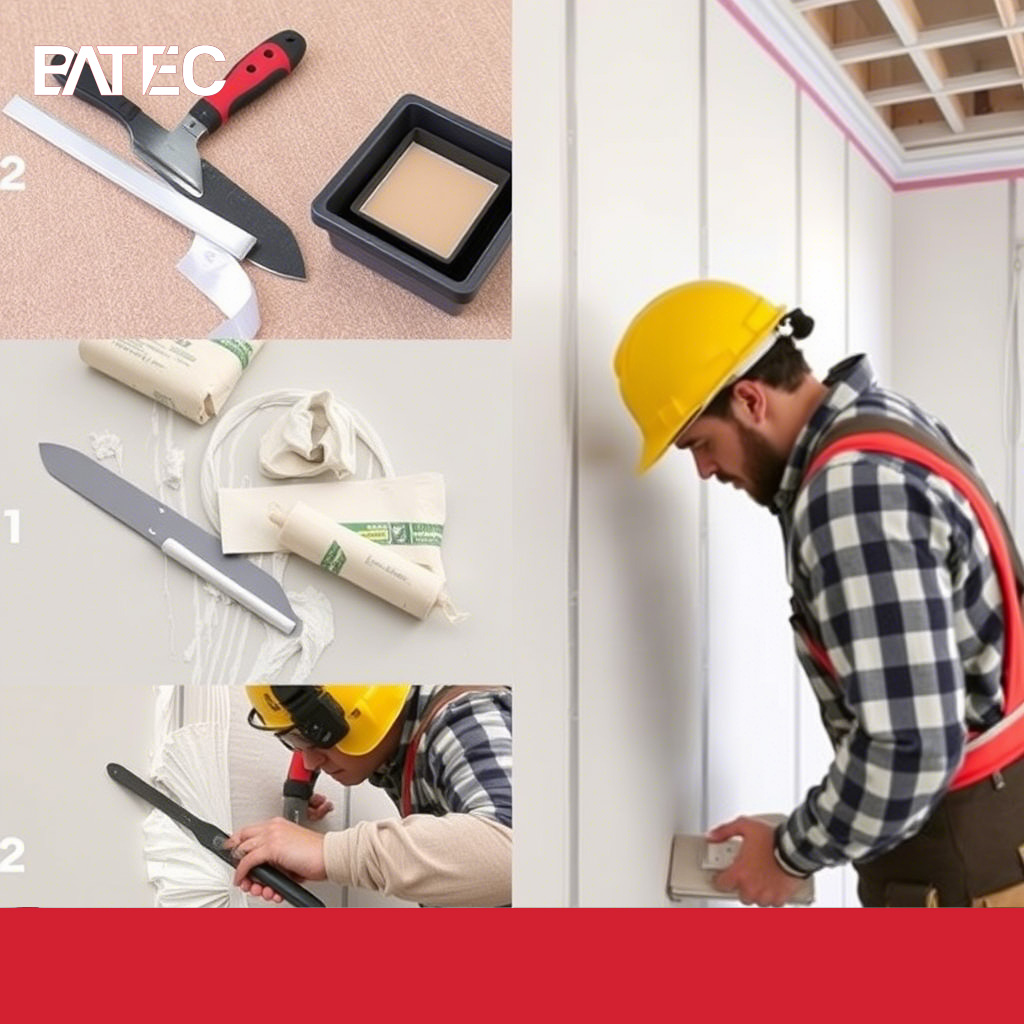
Finishing involves applying joint compound in layers, embedding paper tape over seams, and sanding between coats. It’s crucial to apply even pressure and maintain a clean workspace to avoid dust contamination. Batec recommends using compatible joint compounds and finishing products from their comprehensive system to ensure optimal performance and durability.
Once finished, allow the compound to cure completely before painting or adding finishes. This foundational guide ensures that even first-time installers can achieve professional results when working with gypsum boards, especially those offered by Batec Group.


